Every year in early November I wrangle my rusty turkey making skills together, buy a smallish bird and do a practice turkey. You know, kinda a dry run for the big day. Greg doesn’t complain. He is a turkey lover from way back and as I start plotting my turkey time, images of turkey sandwiches dance in his head.
The bonus to doing a practice bird is that you can use the turkey frame to make some heavenly homemade stock – it will only take your gravy to the next level come Thanksgiving day.
I know I don’t need to say it. But I AM going to say it – buy a high quality natural or organic bird. One that is minus antibiotics and growth hormones, one that has had access to *gasp* the actual outdoors. It will make a difference in the flavor and for your conscience as well.
Most years I brine my turkey – it involves making space for a giant bucket in my fridge and a lot of sloshing around of my apple cider brine. Somehow it invariably coats me, my kitchen floor and the inside of my fridge…. Did I mention that it also contains maple syrup, for added stickiness? This year for my practice bird I decided to try a dry brine – much like I did in this Roasted Chicken with Pumpkin Ale Pan Sauce recipe.
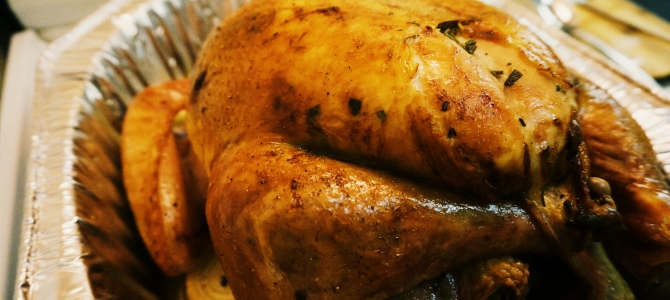
It was so much easier, less time consuming and much less messy and expensive. All wins in my book. There is the added bonus of some amazingly crispy skin – which you either love or can leave. I myself am a turkey skin lover.
I also learned early on in my turkey making career how to separate the skin and put a lovely layer of olive oil, butter and fresh herbs in between the skin and the meat. It is one more step along the path of ensuring that your bird is moist and delicious. Because butter.
So, let’s get this 14 pound bebe in the oven.
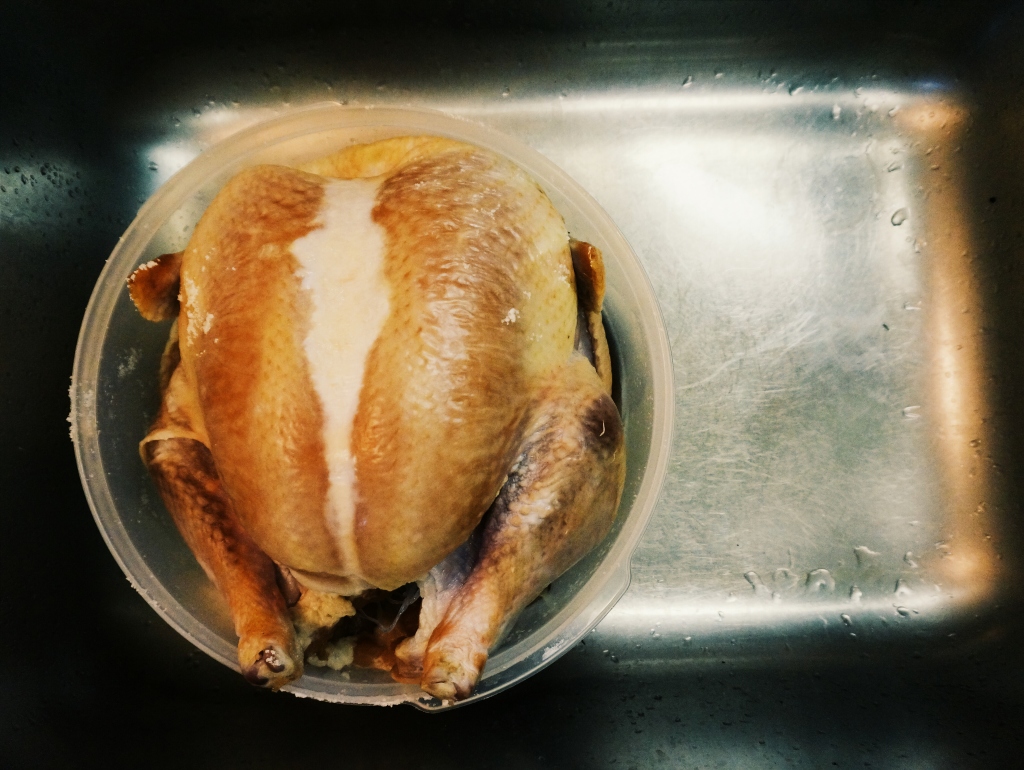
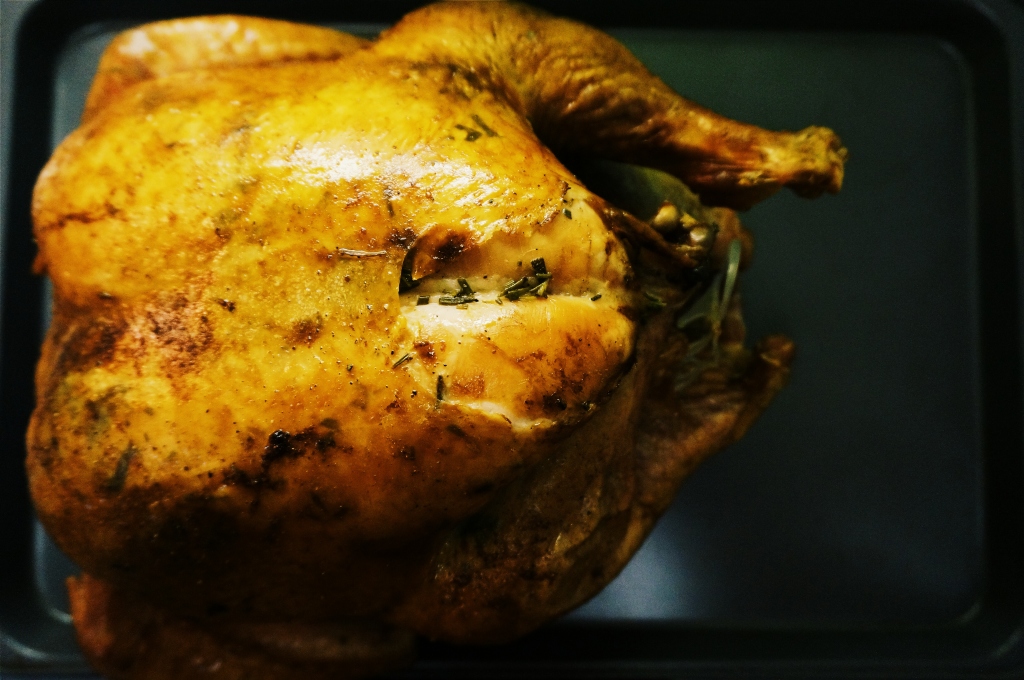
Dry Brined Turkey after a day in the fridge. It may look dried out, but you’ve actually trapped in the moisture.
Dry Brined Turkey with Extra Crispy Skin
Ingredients:
- 1 cup Kosher Salt
- 1 Natural or Organic Turkey – 12-14 lbs; preferable air chilled. If frozen, defrost in your fridge for 24-48 hours depending on the size
- 1/3 cup Butter, soft but not melted
- 1/2 teaspoon each of Fresh Rosemary, Thyme and Sage, finely chopped
- 1/4 cup Olive Oil
- 3 Celery Stalks
- 1 Small Onion
- 2 Carrots
- 2 cups Turkey or Chicken Stock
Method:
Release your turkey from it’s packaging, and dig out the giblets to set aside. Give it a good rinse all over – including the inside and pat dry with paper towels.
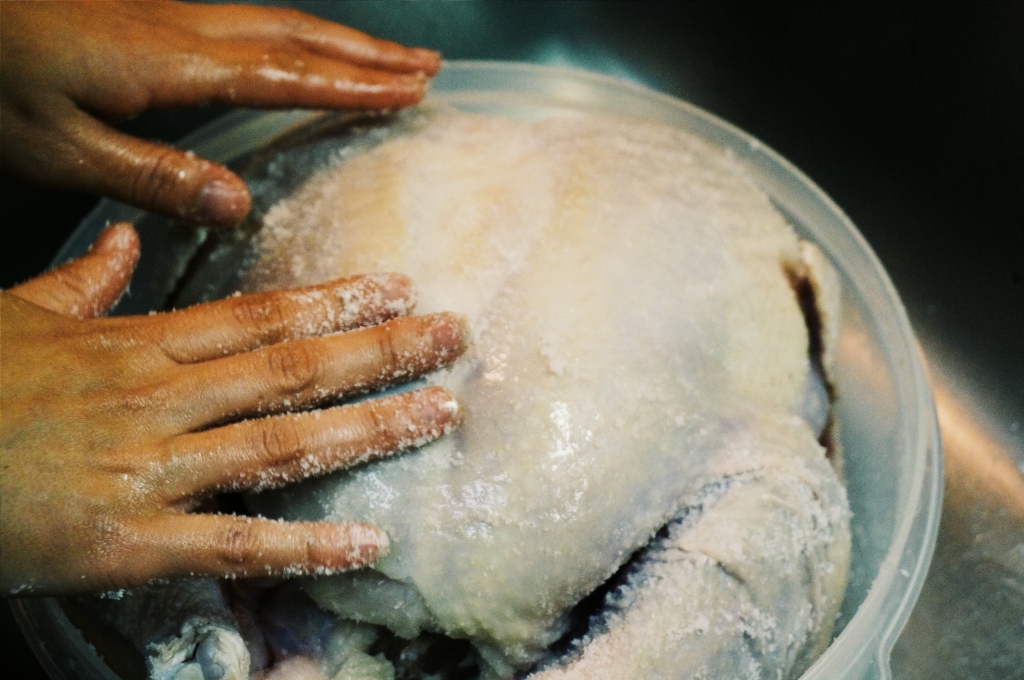
Put your turkey in a large bowl – big enough to fit the entire bird with a little room to spare. Sprinkle the entire bird – inside, outside, upside, downside and all-around -side with the salt. Really rub it in so that it sticks to the skin. Don’t be afraid to use all the salt. It will seem like too much, but be brave.
Now, your bird (and it’s salt) will hit the back of your fridge where it is coldest for at least 8, but preferably 24 hours. Uncovered. It is the uncovered bit that will get you your crispy skin.
Fast forward. Pre-heat your oven to 350. When you pull the turkey from the fridge, it will look a little dried out. Again, back down from the cliff. It will turn out better than OK. Give the entire bird another rinse and pat dry. This is to remove that way too much salt and get it ready for the oven. Pat the entire bird dry with paper towels and place on a baking sheet and let it sit for 30 minutes or so at room temperature. It never pays to put icebox cold meat in an oven.
While the bird is hanging out, get your roasting pan ready. I have a tiny, tiny galley kitchen and no room for a beautiful roasting pan that only comes out a time or two a year. I totally buy the aluminum ones when I buy my turkey. They seem to work just fine.
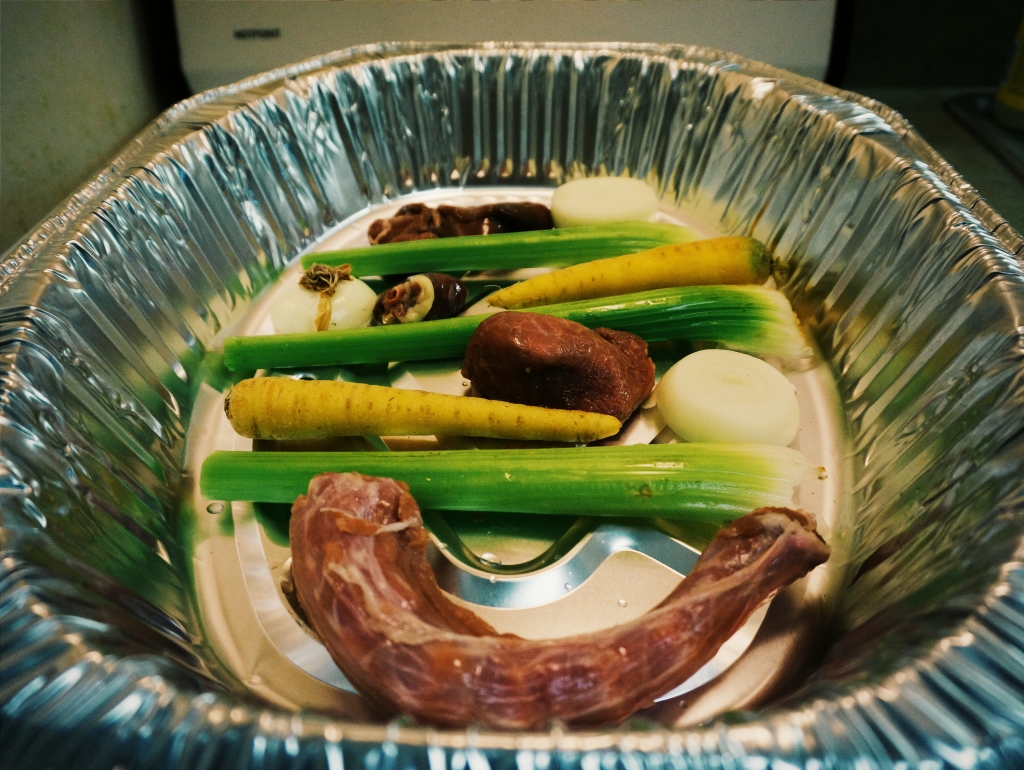
I prep my pan by putting celery ribs, carrots and sliced onion in the bottom of my pan. I add the turkey neck and giblets to the pan as well – I will use them to make stock later. The veggies keep the Turkey from resting (and sticking) on the bottom of the roasting pan. Bonus: they add flavor to the turkey juices which in turn means better gravy down the road.
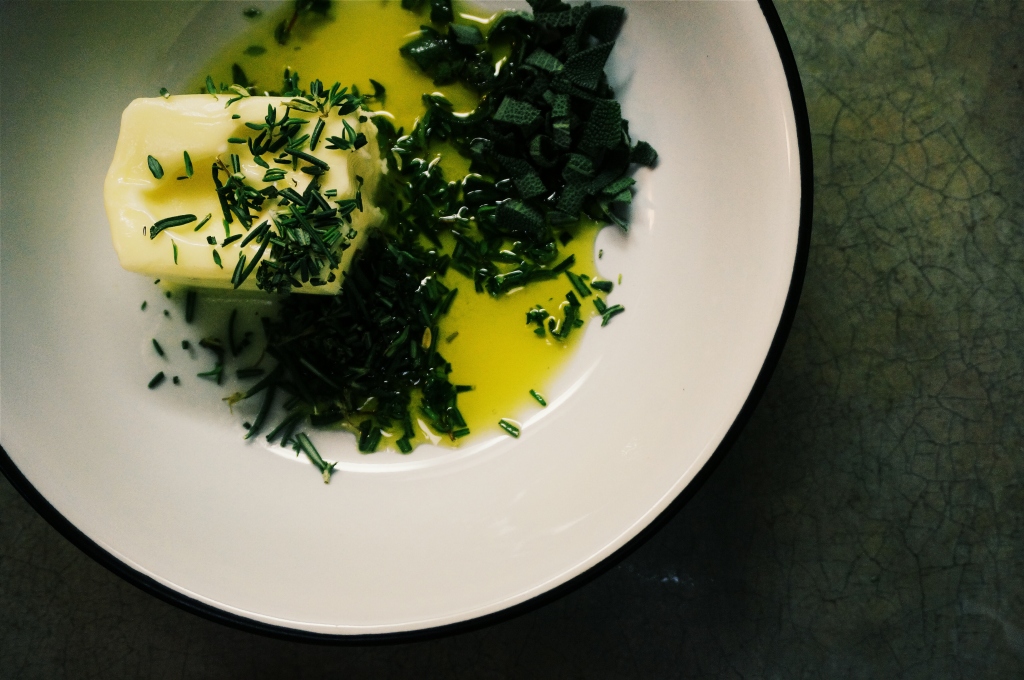
Next, mix together the butter, herbs and olive oil in a small bowl. It will be soft, but should still be somewhat solid.
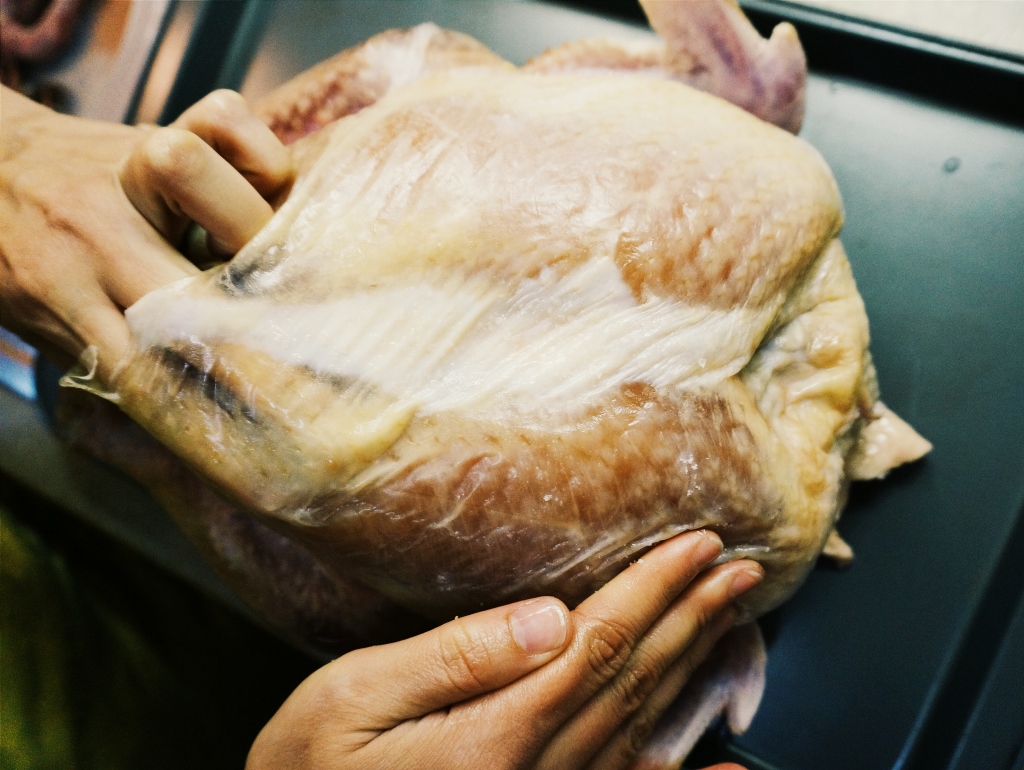
Take your turkey and slowly bit by bit separate the skin from the breast of the turkey. There is a membrane that that you will have to work loose. Separate the skin clear down to the front of the breast and down to the thighs on either side.
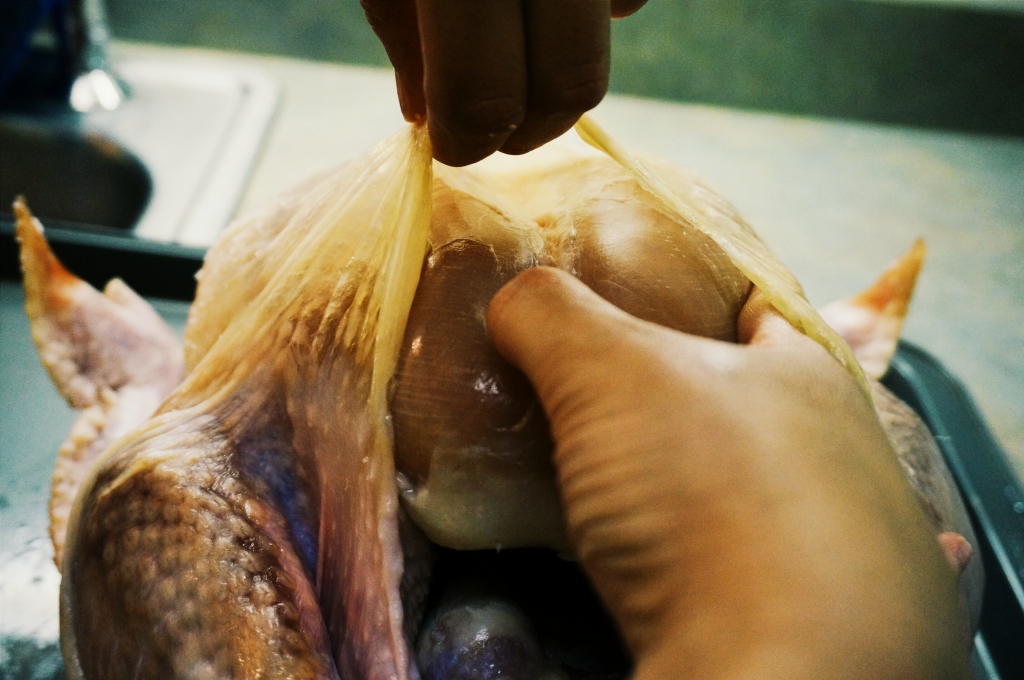
I know this is not a flattering angle for this Turkey, but I wanted you to get an idea of what it should look like as the skin comes loose.
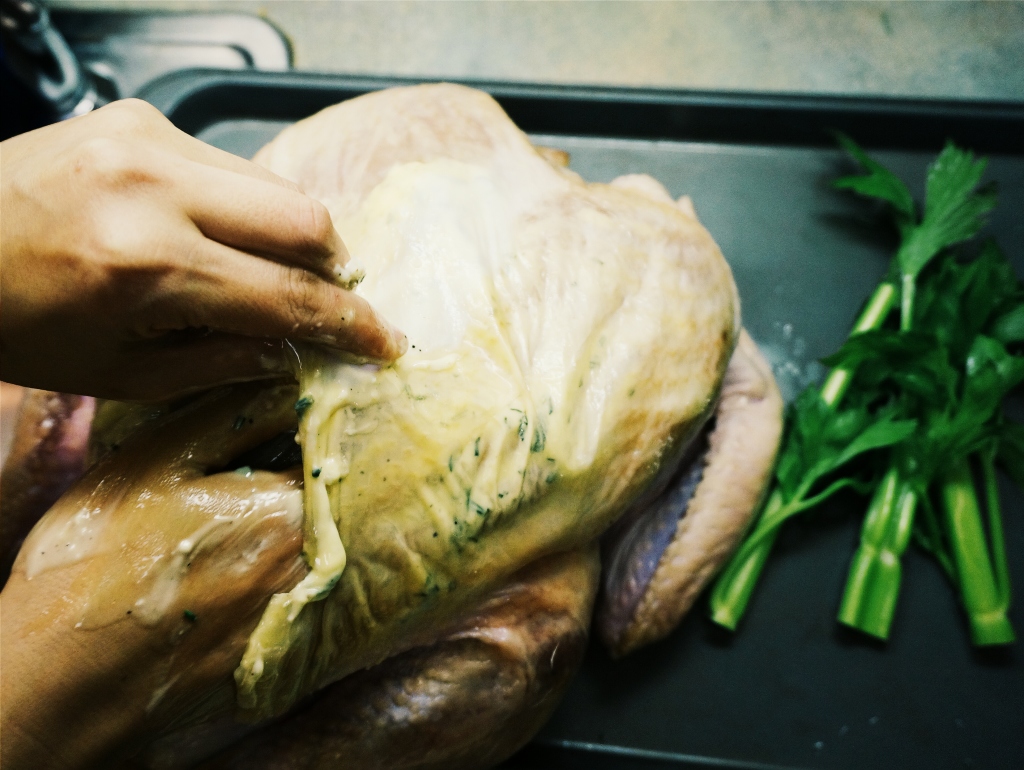
Once you are done, slip the butter/herb/olive oil mixture in under the skin – making sure to spread it evenly.
Move the turkey to the roasting pan, breast side up and add the broth to the bottom of the pan. Put the entire thing into the pre-heated oven. A 12-14 lb bird will cook in 3 – 3.5 hours. Tent it with foil if it starts getting too brown on top. Rotate half way through and start checking the temp at the 2.5 hour mark. Baste it every 30 minutes if it starts looking dry, but really you shouldn’t need to much. The bird is done when the temp hits 165. If your turkey comes with one of those little built in thermometers, well don’t trust them. Trust me, just don’t.
Remove the turkey from the oven once it is done and let it rest for at least 30 minutes – this allows all the juices to reabsorb and get back into the meat where they belong. I like to tent it with foil to keep it extra warm.
Save the drippings and the veggies either for gravy or for making stock.
-Lydia, Seller of Purple
Some other awesome turkey ideas:
- Mayonnaise Roasted Turkey by She Wears Many Hats
- The Bacon Blanketed Herb Turkey by The Runaway Spoon if you want to be extra naughty
- Brined Deep Fried Turkey by GrassHaven Outdoor



I love that you do a trial run of your Thanksgiving turkey. Now that is dedication!
Maybe it is a trial run… but mostly we just really like turkey. Thanks for taking the time to comment. We love your blog.